
What is FreeFileSync, and why do I need it?
Part of effectively using Root Beer Tag is transferring your images from your home computer to our servers. Although Root Beer Tag currently does not support uploading from a browser window, we do have a recommended method to upload and entrust us with copies of your images. FreeFileSync is a folder comparison and synchronization software that, once configured, makes uploading and synchronizing your photos to Root Beer Tag as easy as a few mouse clicks.
Do I need to upload all of my images?
Absolutely not. You can upload a folder of images (including sub-folders) or separate sub-folders (and sub-folders of those) in a top-level image folder you may have. See more details later in this document regarding how to pick and choose which folders of images in your collection get uploaded.
I saw the word recommended in there. Can I use another application to upload?
Absolutely. A variety of applications can be used for uploading your images (WinSCP, FileZilla, Cyberduck, etc…). We chose to land on FreeFileSync because it is pretty much platform agnostic between MacOS and Windows, functioning very similarly and making documentation easier. More seasoned file transfer users can definitely use a different application they are more comfortable with as long as it supports the SFTP/SCP protocol and private/public key authentication.
Where do I get FreeFileSync?
First, you need to download FreeFileSync from its main site. Hit the download link on the left side towards the top of the page. Once you have it downloaded and installed, fire it up. You should get a window similar to this one.
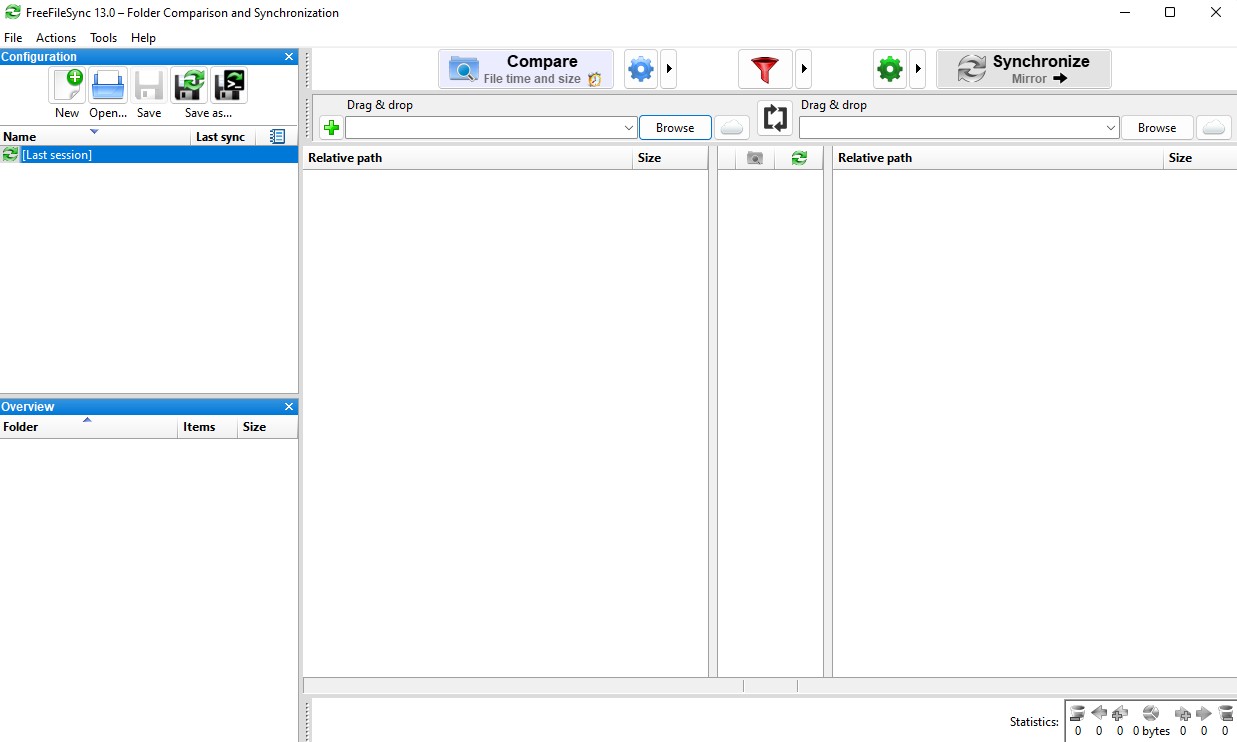
From here, you can follow the steps in this YouTube video. If videos aren’t your learning style, you can continue below the video for step-by-step instructions with screenshots.
This looks a little complicated
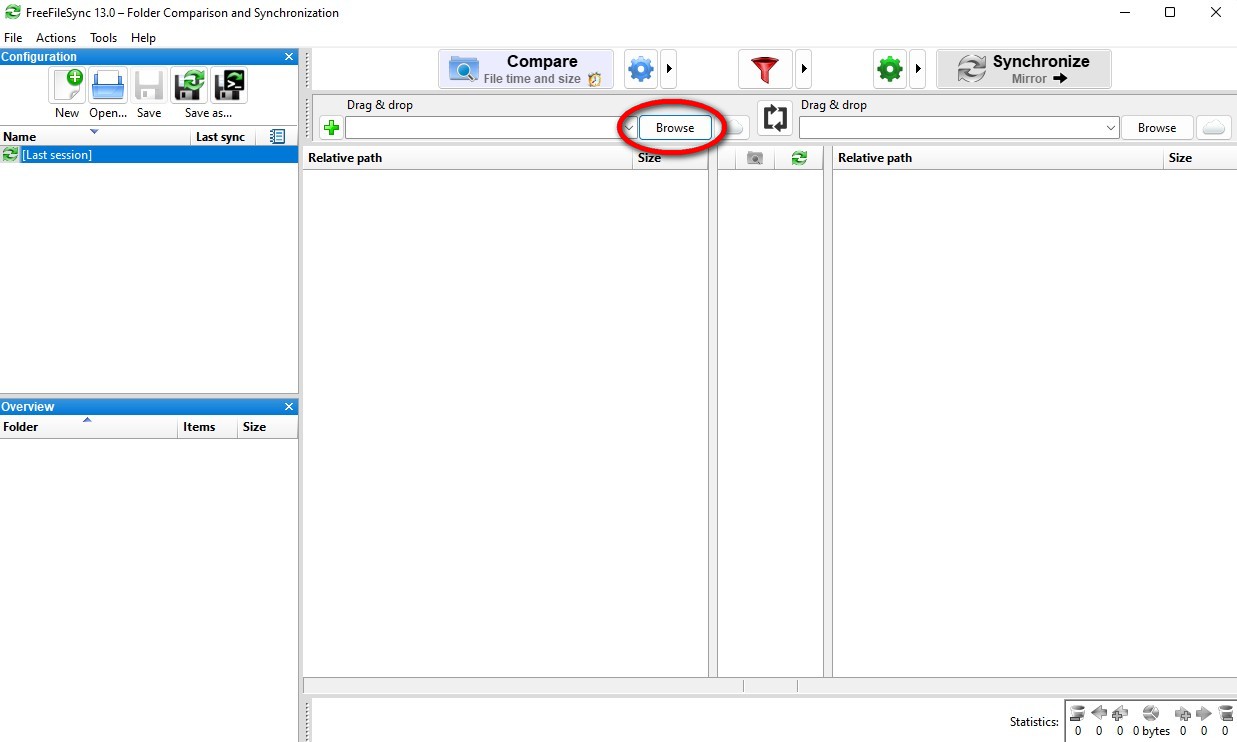
You’ve got this! Click on the Browse button circled in this image and select your source folder on your computer.
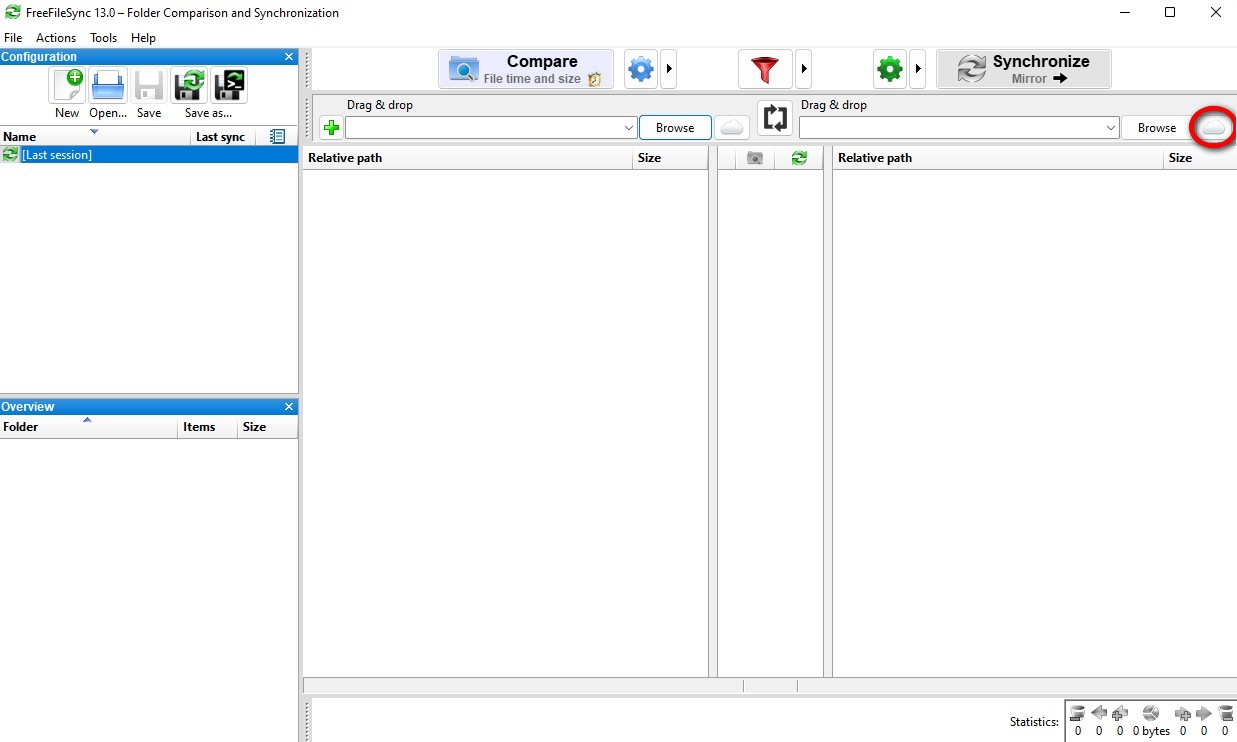
That wasn’t too tough, was it? Now, the next one gets a little trickier. Click on the little cloud icon circled in this image to open the Access Online Storage settings.
This window has a few more moving parts. Here’s what you need to get things set up.
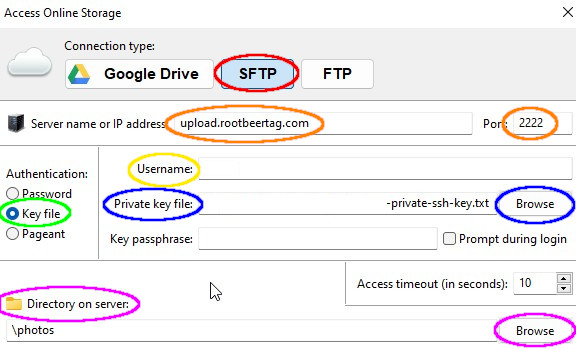
| Red | Click on the SFTP button at the top of the window |
| Orange | Enter upload.rootbeertag.com for the server name and 2222 for the port number |
| Yellow | When first setting up Root Beer Tag, you provided a site name; enter just that site name here (all lower-case) for the Username (i.e. anderson) |
| Green | In the Authentication section, select Key file |
| Blue | In addition to the site name, you should have also received a plain text file that contains a key that allows password-less connections for uploads. Save that file to your computer and then browse for it by clicking the browse button circled in blue. |
| Purple | Click on the browse button circled in purple. This tests the connection and opens a window to select the target folder. |
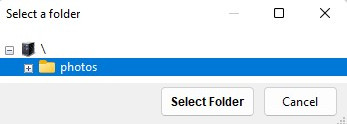
If the photos folder is not automatically selected, please select and click Select Folder. Then, click the OK button at the bottom of the Access Online Storage Window.
Source and destination are set. What’s next?
Glad you asked. First of all, congrats on the online storage config. Next, click on the Compare button in the upper middle. This will start FreeFileSync comparing the source and destination to determine what needs to be transferred.
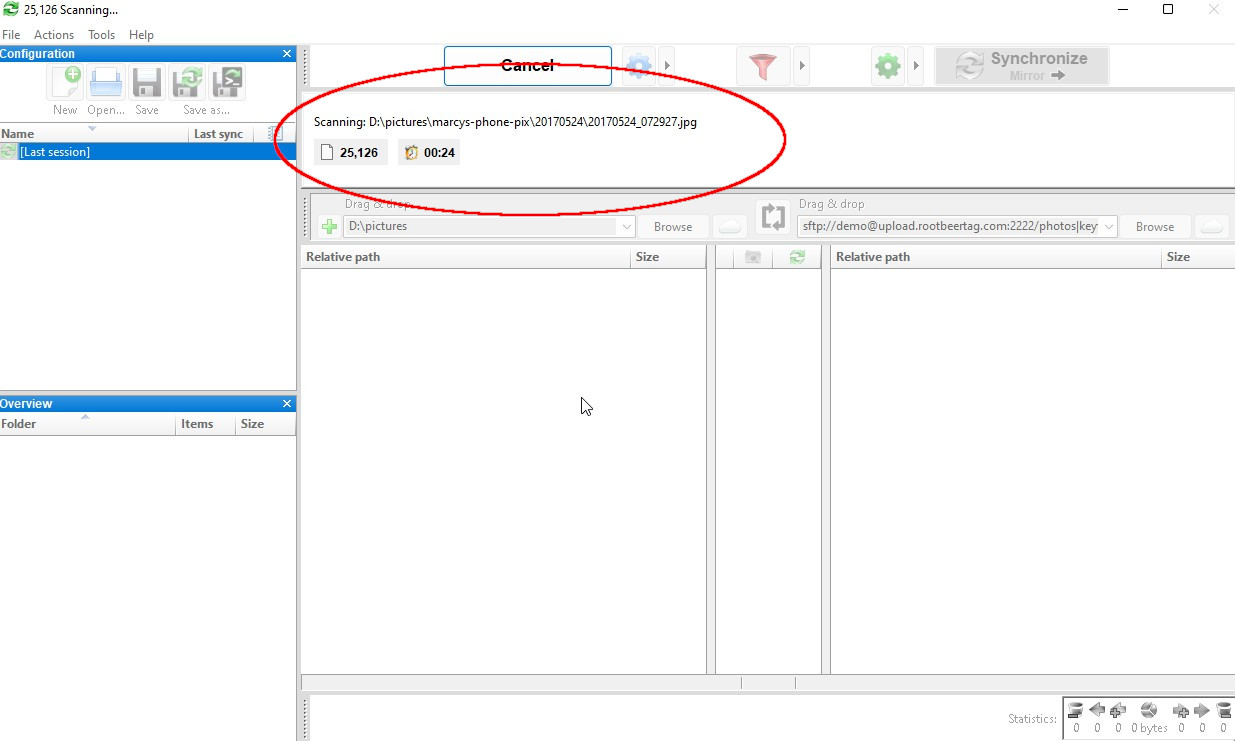
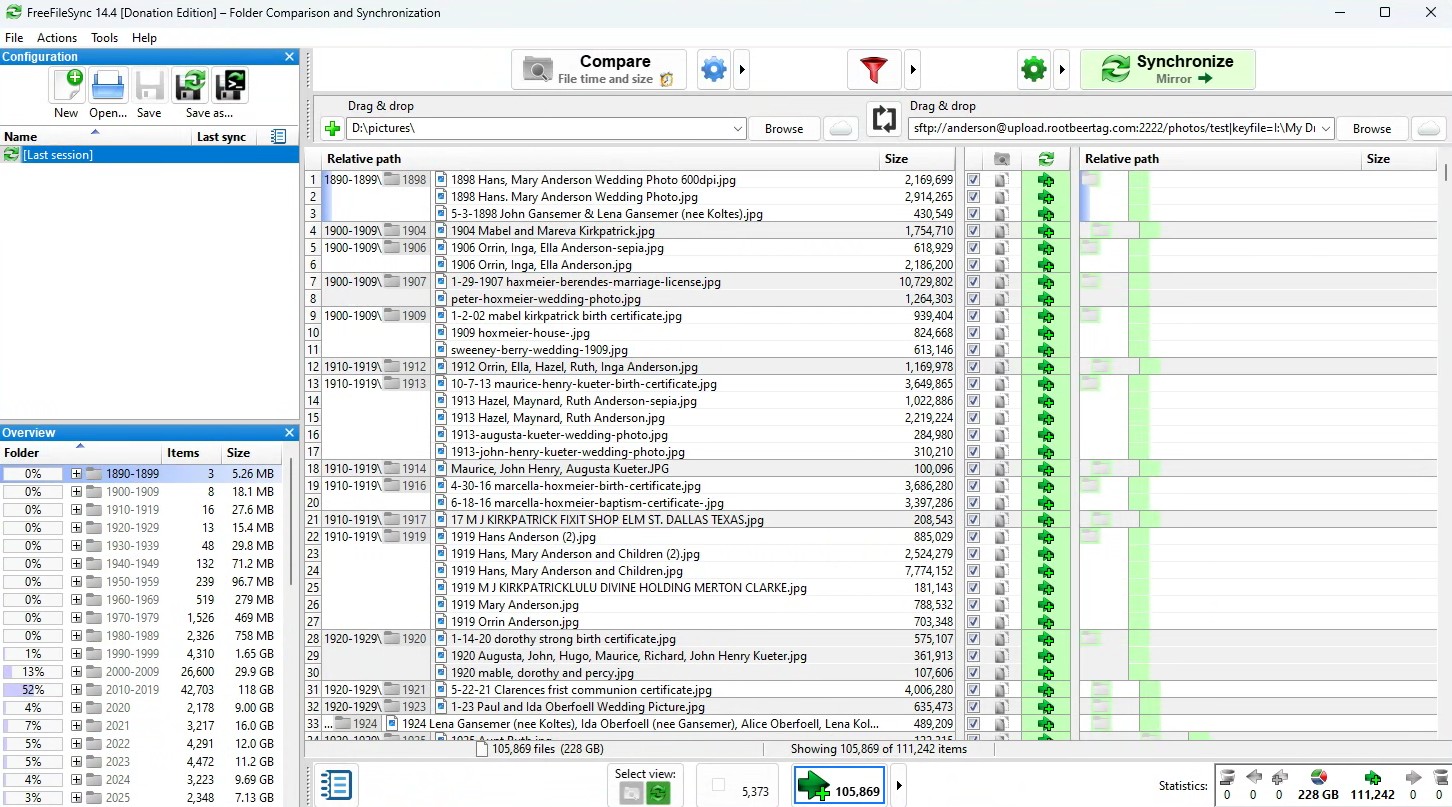
Once the compare completes, the panes should look similar to these. Your source images on your computer are listed on the left and the Root Beer Tag destination on the right.
Are we there yet?
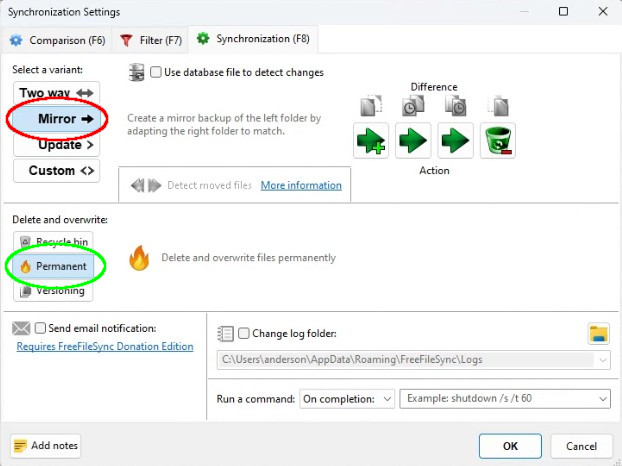
Just a few more settings to tweak. We’re getting close, I promise! Click on the big green gear in the upper right area of the main window to get to the synchronization settings.
Select Mirror from the variant list (circled in red) and select Permanent from the Delete and Overwrite options (circled in green). Mirror means that all files on the source will be transferred to the target and any files no longer on the source will be removed from the target (the Permanent option handles this with no dialog boxes).
Mac Users ONLY! We need to exclude a library from sync or things will throw errors. Click on the Filter tab at the top of the Synchronization Settings window. Under the Excluded Items, add this line as shown circled in blue in the example: */Photos Library.photoslibrary
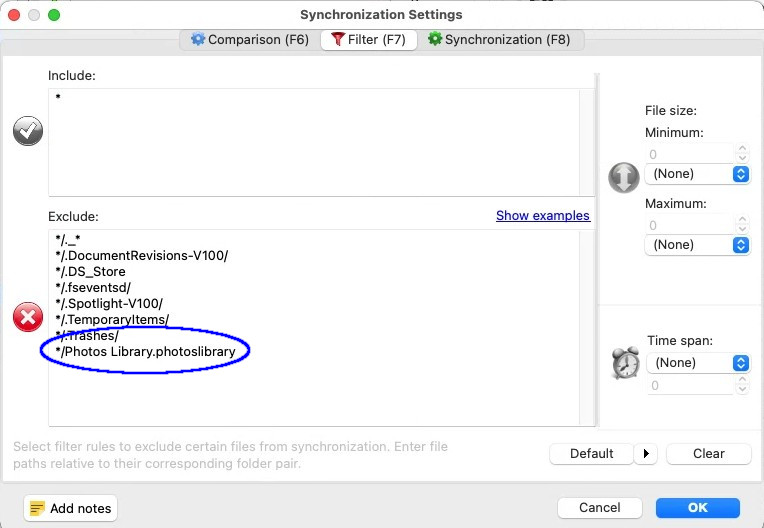
Click OK at the bottom right to save changes.
Feels like we might be done
That’s because set up is done. Time to kick the tires and light the fires. You have a few options in determining what to synchronize.
Sync Everything
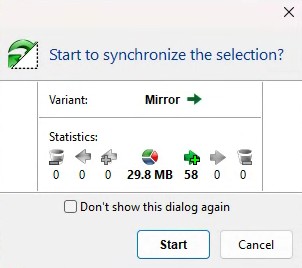
Click on the green Synchronize button towards the upper right of the main window. You are presented with a confirmation dialog.
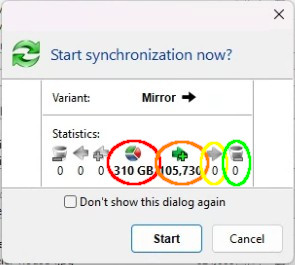
| Red | Amount of data to be transferred |
| Orange | Number of files to be transferred |
| Yellow | Number of files to be updated |
| Green | Number of files to be deleted |
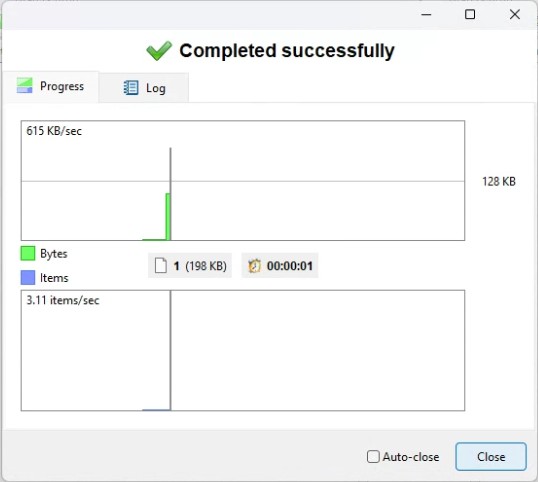
Peruse the numbers and make sure things look kosher. If they do, go ahead and click Start. The Progress window appears and things begin moving across the interwebs. Once the sync is done, that’s it!
Sync Selected Folders
If not all of the folders in your top level image directory are ready to sync (or you just want only certain folders synced), you can selectively sync certain folders. In the overview pane at the lower left of the main window, right click on a folder you want to sync and select “Synchronize selection.”
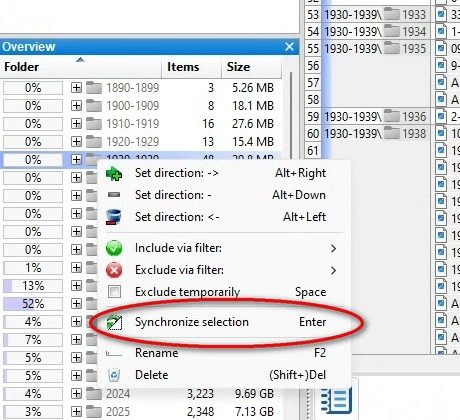
Once you do that, you will get a confirmation dialog box similar to when you sync everything.
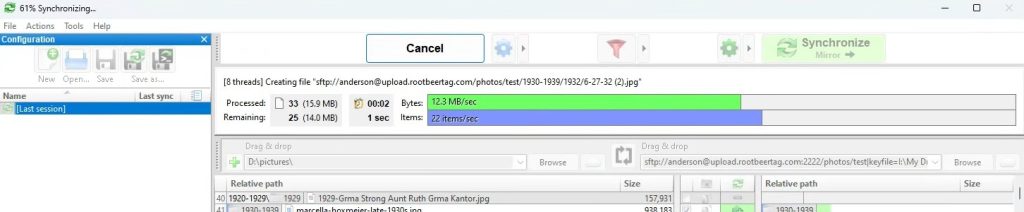
Click the “Start” button and the transfer will start. Progress can be seen by bars that appear at the top of the main window during the sync.
Whether you synced a single folder or all of your images, they are now on their way to Root Beer Tag and you’ll be tagging soon!
NOTE FOR POWER-USERS: If you choose to use the FreeFileSync Donation Edition, please do not increase the parallel operations beyond 4 for either source or target. Our systems currently cannot handle any more than four concurrent upload connections.
Wait, you said we were done; why is this help file continuing?
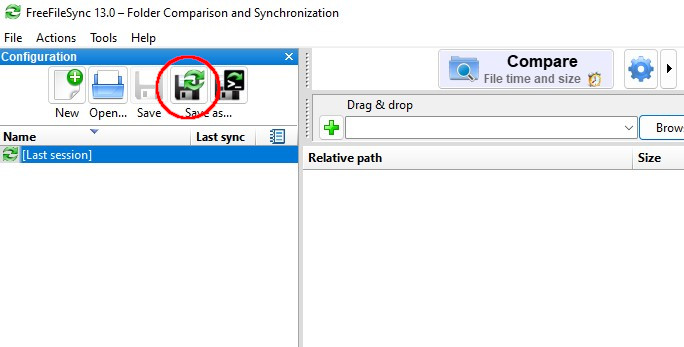
Unless you want to redo the above configuration steps every time, you’ll want to save this configuration. Clicking on the “Save as . . .” button (circled below) will save a config file with your settings. Moving forward, double-clicking on that configuration file will open FreeFileSync, load that configuration, and run a compare automatically.
This page last updated on 30 October 2025 by Bill Anderson