
Wait a minute. If Root Beer Tag is web-based, why do I need to install software on my computer?
Very fair question. Integral to Root Beer Tag is a unique Image ID that is embedded in the metadata of your images (metadata already embedded in the image files may include dates, camera model, and settings, etc). The client-side software generates, assigns, and validates these IDs so your images can be cataloged for tagging and searching. It is important that the client-side software be run BEFORE uploading your photos to us, both initially and whenever you want to upload more images.
OK. That makes sense. Where do I get the client software?
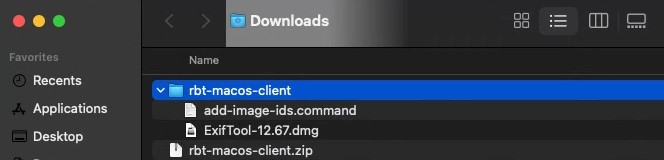
You can download the client software via this direct link. Once you have the .zip file downloaded, open it up and you should find two files: add-image-ids.command and a .dmg file containing the ExifTool installer. From here, you can follow the steps in this YouTube video. If videos aren’t your learning style, you can continue below the video for step-by-step instructions with screenshots.
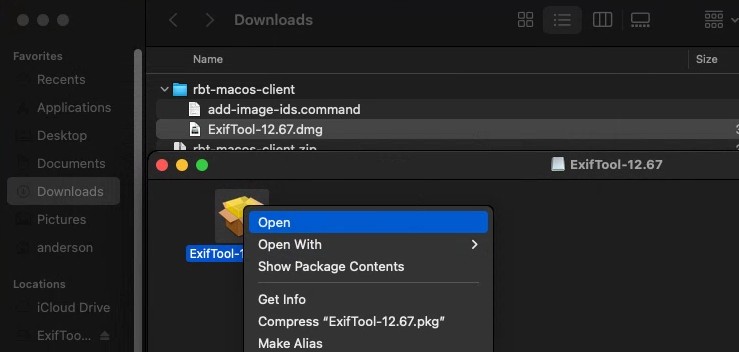
ExifTool needs to be installed first. Right-clicking on the ExifTool disk image (.dmg) file opens it and presents a package file. Right-click on this .pkg file to open it.

Follow the instructions on the installer dialog boxes to complete the installation of ExifTool. If prompted, the original source file can be deleted.
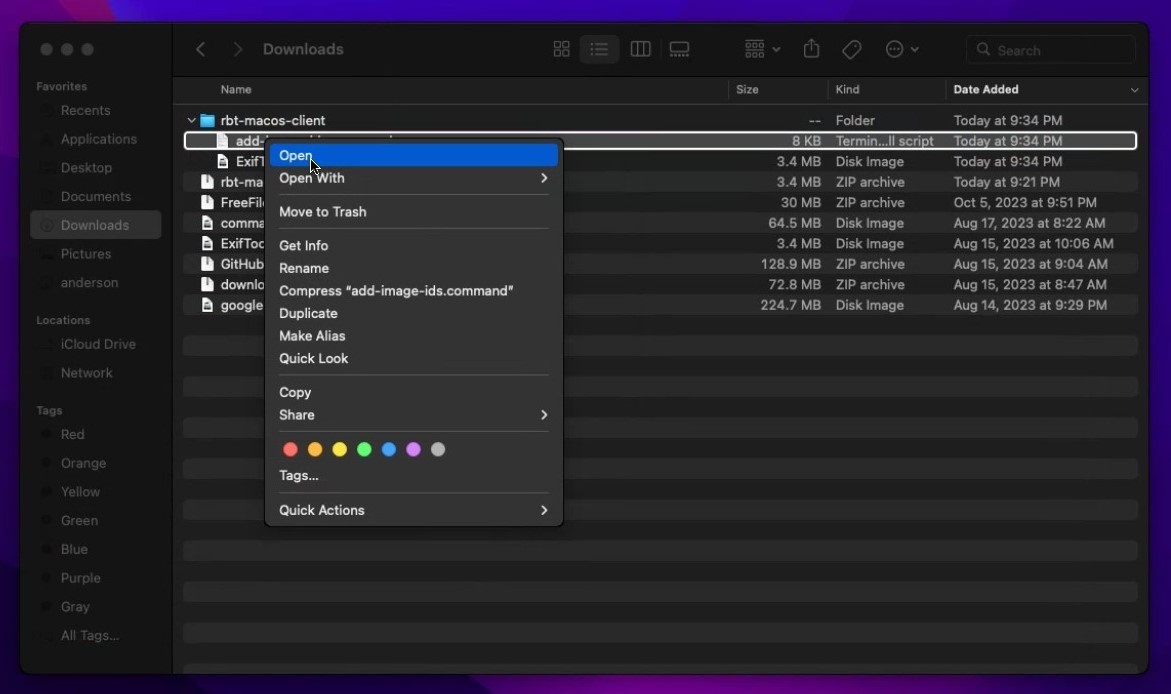
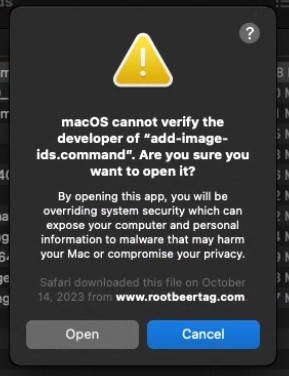
On to the add-image-ids.command file. This is the file you will double-click to start the process of adding IDs to your images. It can be placed pretty much anywhere on your system (Desktop, Downloads, Documents, etc). When you run it for the first time, you must right-click and select Open since it did not come from the Apple Store.
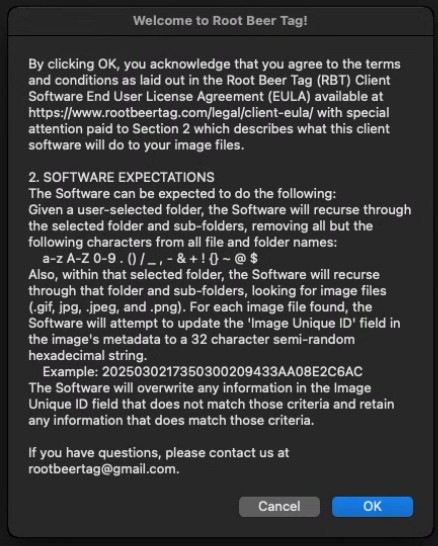
Anytime you run add-image-ids, a command window opens. The first time you run add-image-ids, you should get a pop-up describing what it does and making sure you agree with the EULA. If not, you may click cancel, and your images will remain unmodified. Once you click OK, you get a dialog box to select your top-level image folder (defaulting to your MacOS Pictures folder). In addition to a command window, this dialog will open every time add-image-ids is run and default to the last folder selected.
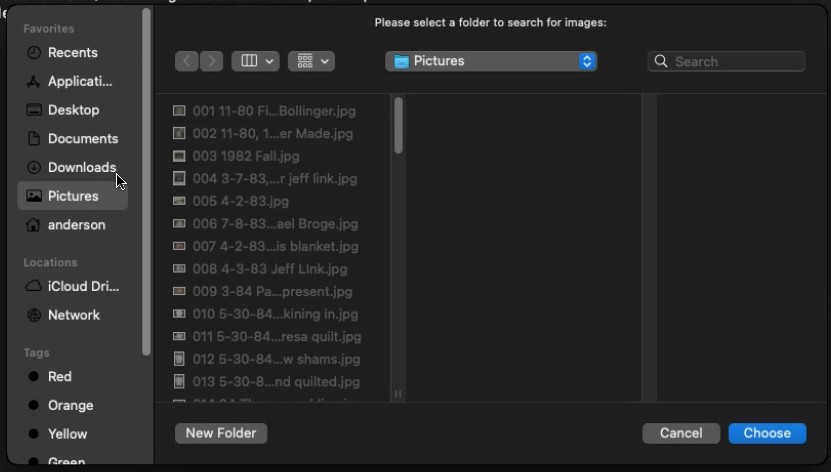
Once you hit the Choose button at the lower right of the folder select dialog, output will begin scrolling on the command window starting with a count of the images to be processed (a count of all images found in the selected folder and its sub-folders). As processing continues, only images that are modified will be listed as their unique image ID is embedded.

Once processing is complete, any errors will appear at the bottom of the window.

That’s it! Now, your images are ready to be uploaded to Root Beer Tag. NOTE: this client software needs to be run whenever you designate new images to be uploaded to Root Beer Tag. If needed, detailed instructions can be found on our Using Free File Sync page.
This page last updated on 10 February 2026 by Bill Anderson